
Sweep the floor. Then sweep it again. Then vacuum. You’re looking for zero debris. A single pebble will show up through vinyl like a zit on prom night. Fill any cracks or holes with a patching compound. Let it dry. Sand it smooth. Your concrete should feel like a baby’s bottom—if babies had industrial flooring.
Now, acclimate your vinyl. Bring the boxes into the room and let them sit for 48 hours. Vinyl expands and contracts like a bad relationship. Let it adjust to the temperature and humidity. This step is non-negotiable. Don’t skip it, you impatient goof.
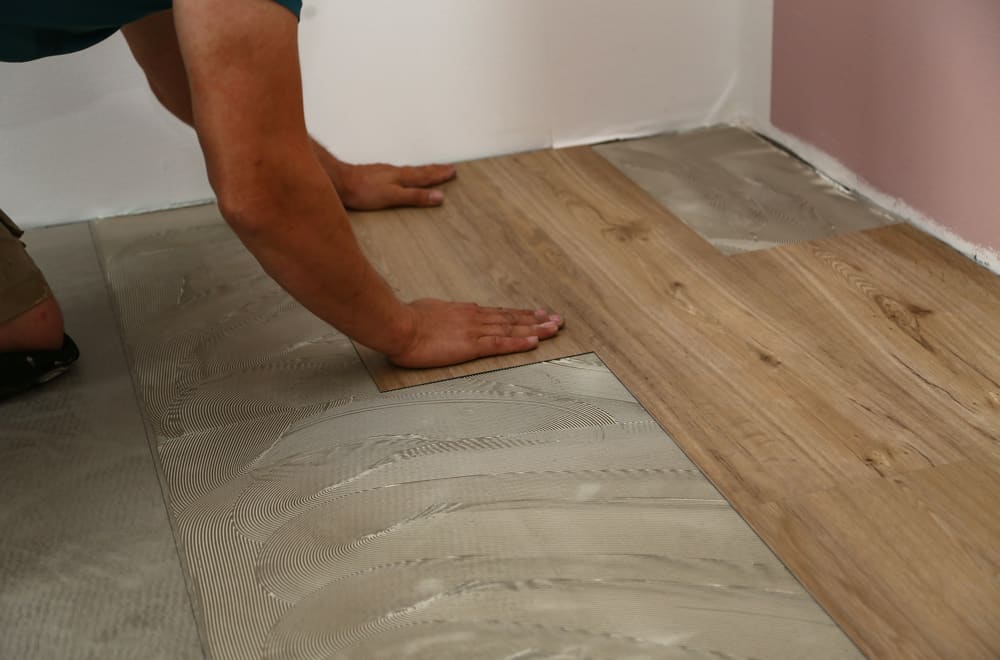 How to Install Vinyl Plank Flooring On Concrete? (Step-by-Step Tutorial)
Laying It Out: The Big Moment
Start with a full plank against your longest, most visible wall. But don’t just slap it down. Dry-lay a few rows first. This is your chance to see if the pattern looks weird or if you’ll end up with a tiny sliver of a plank at the end. Move the starting row if needed. You want the cut pieces to be at least six inches wide—otherwise it looks cheap.
For glue-down vinyl, spread the adhesive with your trowel. Work in small sections—like 3 feet by 3 feet. The glue dries fast. Too fast. So don’t spread it all at once. Lay the vinyl into the glue, press firmly, and roll it with that heavy roller. You’re not just decorating; you’re creating a bond.
For click-lock vinyl (the floating kind), you don’t need glue. Just click the planks together at an angle. It’s like Legos for adults. But leave a 1/4-inch gap around the walls for expansion. Use spacers. And remember: no glue, but you still need that gap. Seriously, don’t forget the gap or your floor will buckle.

