
Hard water is basically water that’s been hanging out with too many minerals, like calcium and magnesium. It’s the reason your dishes have spots and your skin feels like you just rubbed it with chalk. Your water softener’s job is to kick those minerals out of the party.
The hardness level is the number you dial in to tell the softener how many of those party crashers are present. Get it right, and you’ll have water so soft you’ll want to bathe in it. Get it wrong, and you’ll be Googling “why is my water still hard?” at 2 a.m.
Step 1: Find Your Water’s Hardness Number
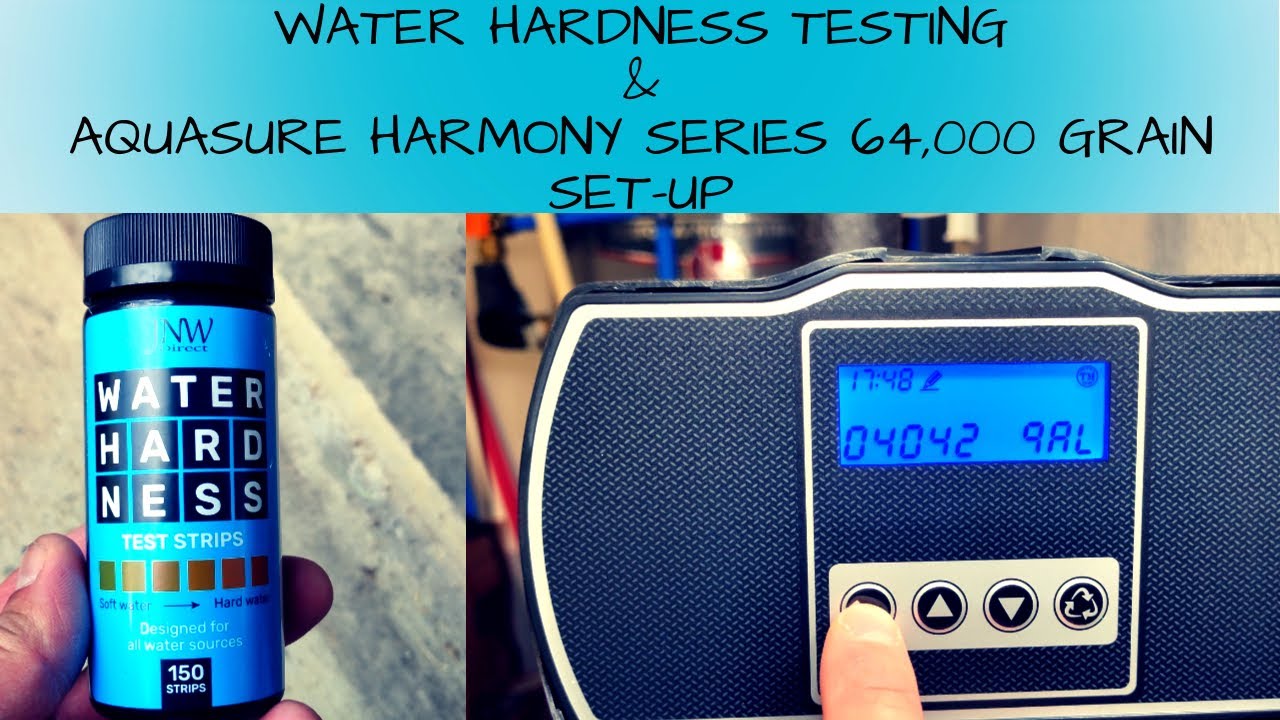
First, you need to know your water’s hardness in grains per gallon (GPG). Don’t panic—this isn’t a pop quiz. You can buy a simple test strip at a hardware store for about the price of a fancy coffee. Or, if you’re feeling lazy (we’re friends, I get it), check your local water utility’s website—they often post hardness levels.
If you use a test strip, dip it in a glass of tap water, wait ten seconds, and compare the color to a chart. It’s like a mood ring, but for your plumbing. Hardness usually falls between 1 and 30 GPG. Anything over 10.5 GPG is considered very hard, and your softener is about to earn its keep.
Step 2: Locate the Control Panel (No, Not the Big Red Button)
Walk up to your water softener. It’s probably a tall plastic cylinder that looks like a futuristic trash can. On the front, there’s a little screen or a set of buttons. That’s your command center. Don’t be intimidated—it won’t bite. Unless it’s a really hard model.
Look for a button labeled “Hardness,” “Set,” or “Menu.” If you see a button that says “Eject,” you’re in the wrong room. Press the hardness button, and a number will start blinking. That’s your chance to make a change.
 San Antonio Water Softener Hardness Setting
Step 3: Dial It In—Like a Radio, But More Satisfying
Use the up and down arrows to set the number you got from your test strip. For example, if your water is 15 GPG, set it to 15. Simple, right? But here’s a ninja trick: if your water has iron in it (which can be common in well water), add a little extra. Add 2 to 5 GPG for every 1 ppm of iron. Iron makes water act extra ornery.
Don’t overthink it. If you set it too low, your softener won’t remove enough minerals, and you’ll get soap scum (ew). If you set it too high, it’ll waste salt like a teenager uses air freshener—excessively. Aim for the sweet spot.
Step 4: Save Your Work (Don’t Be That Person)
After you’ve set the number, press “Enter” or “Save.” If the screen stops blinking and shows your number, you’re a hero. If it goes back to a default number, you forgot to save. Always save! Trust me, nothing ruins a good shower like realizing you reset the thing to zero.
Some softeners have a “Lock” feature. If yours does, hold down the “Lock” button for three seconds to keep your setting safe from curious toddlers or mischievous cats. Yes, cats do meddle with water softeners. I’ve seen it.
Step 5: Run a Test Shower (The Official Ceremony)
Now, for the fun part. Turn on a faucet for about 10 minutes to let the softener regenerate its magical resin beads. Then, step into your shower. Lather up with soap. You should feel like a slippery dolphin. If your skin doesn’t squeak, your water is finally soft.
 Water Softener Hardness Chart at Arnold Peete blog
If it still feels hard, don’t panic. Check your test strip again. Sometimes the water changes seasonally, like your mood on a Monday. Or you might have forgotten to add salt to the brine tank. Salty is good in this context, I promise.

